
Ribbon Skirt Tutorial
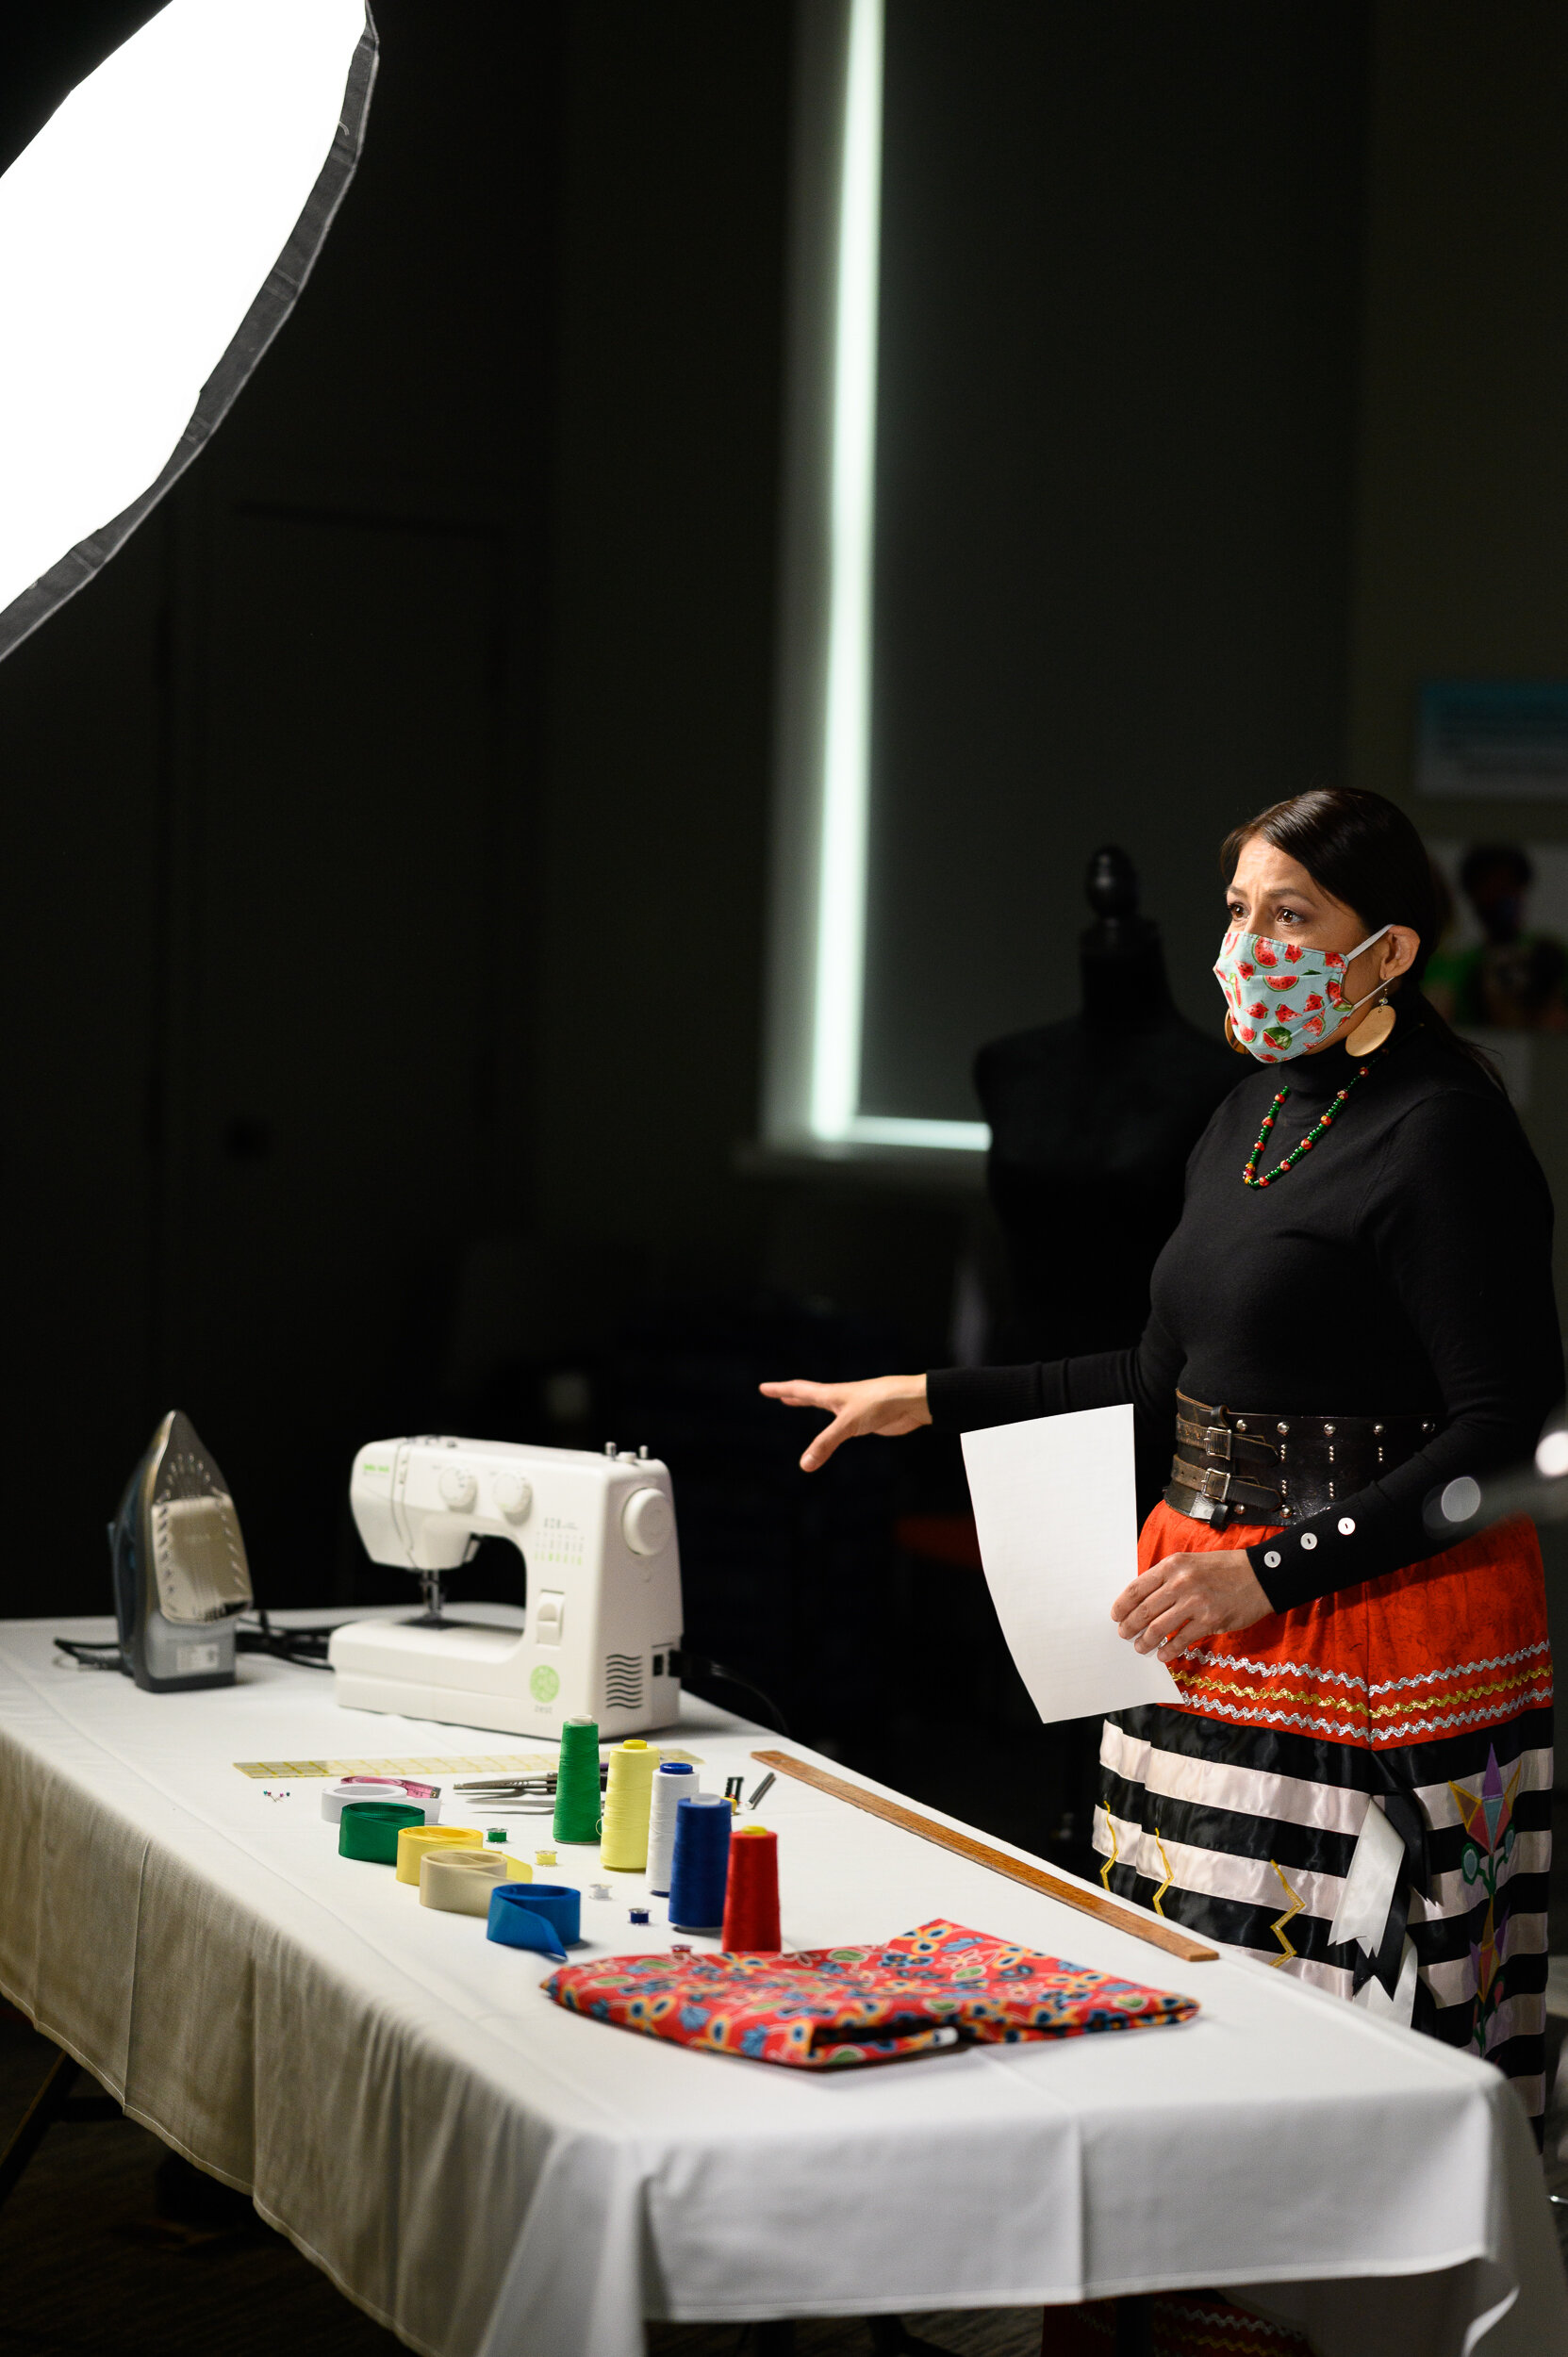
Serene Weasel Traveller is a skilled seamstress and artist from the Piikani Nation. In this tutorial, she shares her knowledge and experience in making ribbon skirts and invites you to make your own!
The Galt is grateful to the subject-matter experts delivering online content. As local professionals and knowledge experts, these presenters add valuable contributions to the local discourse; however, their ideas are their own. The people featured in the videos and those behind the scenes followed best practices to protect their health and safety.


Sewing Sequence for Ladies Ribbon Skirt
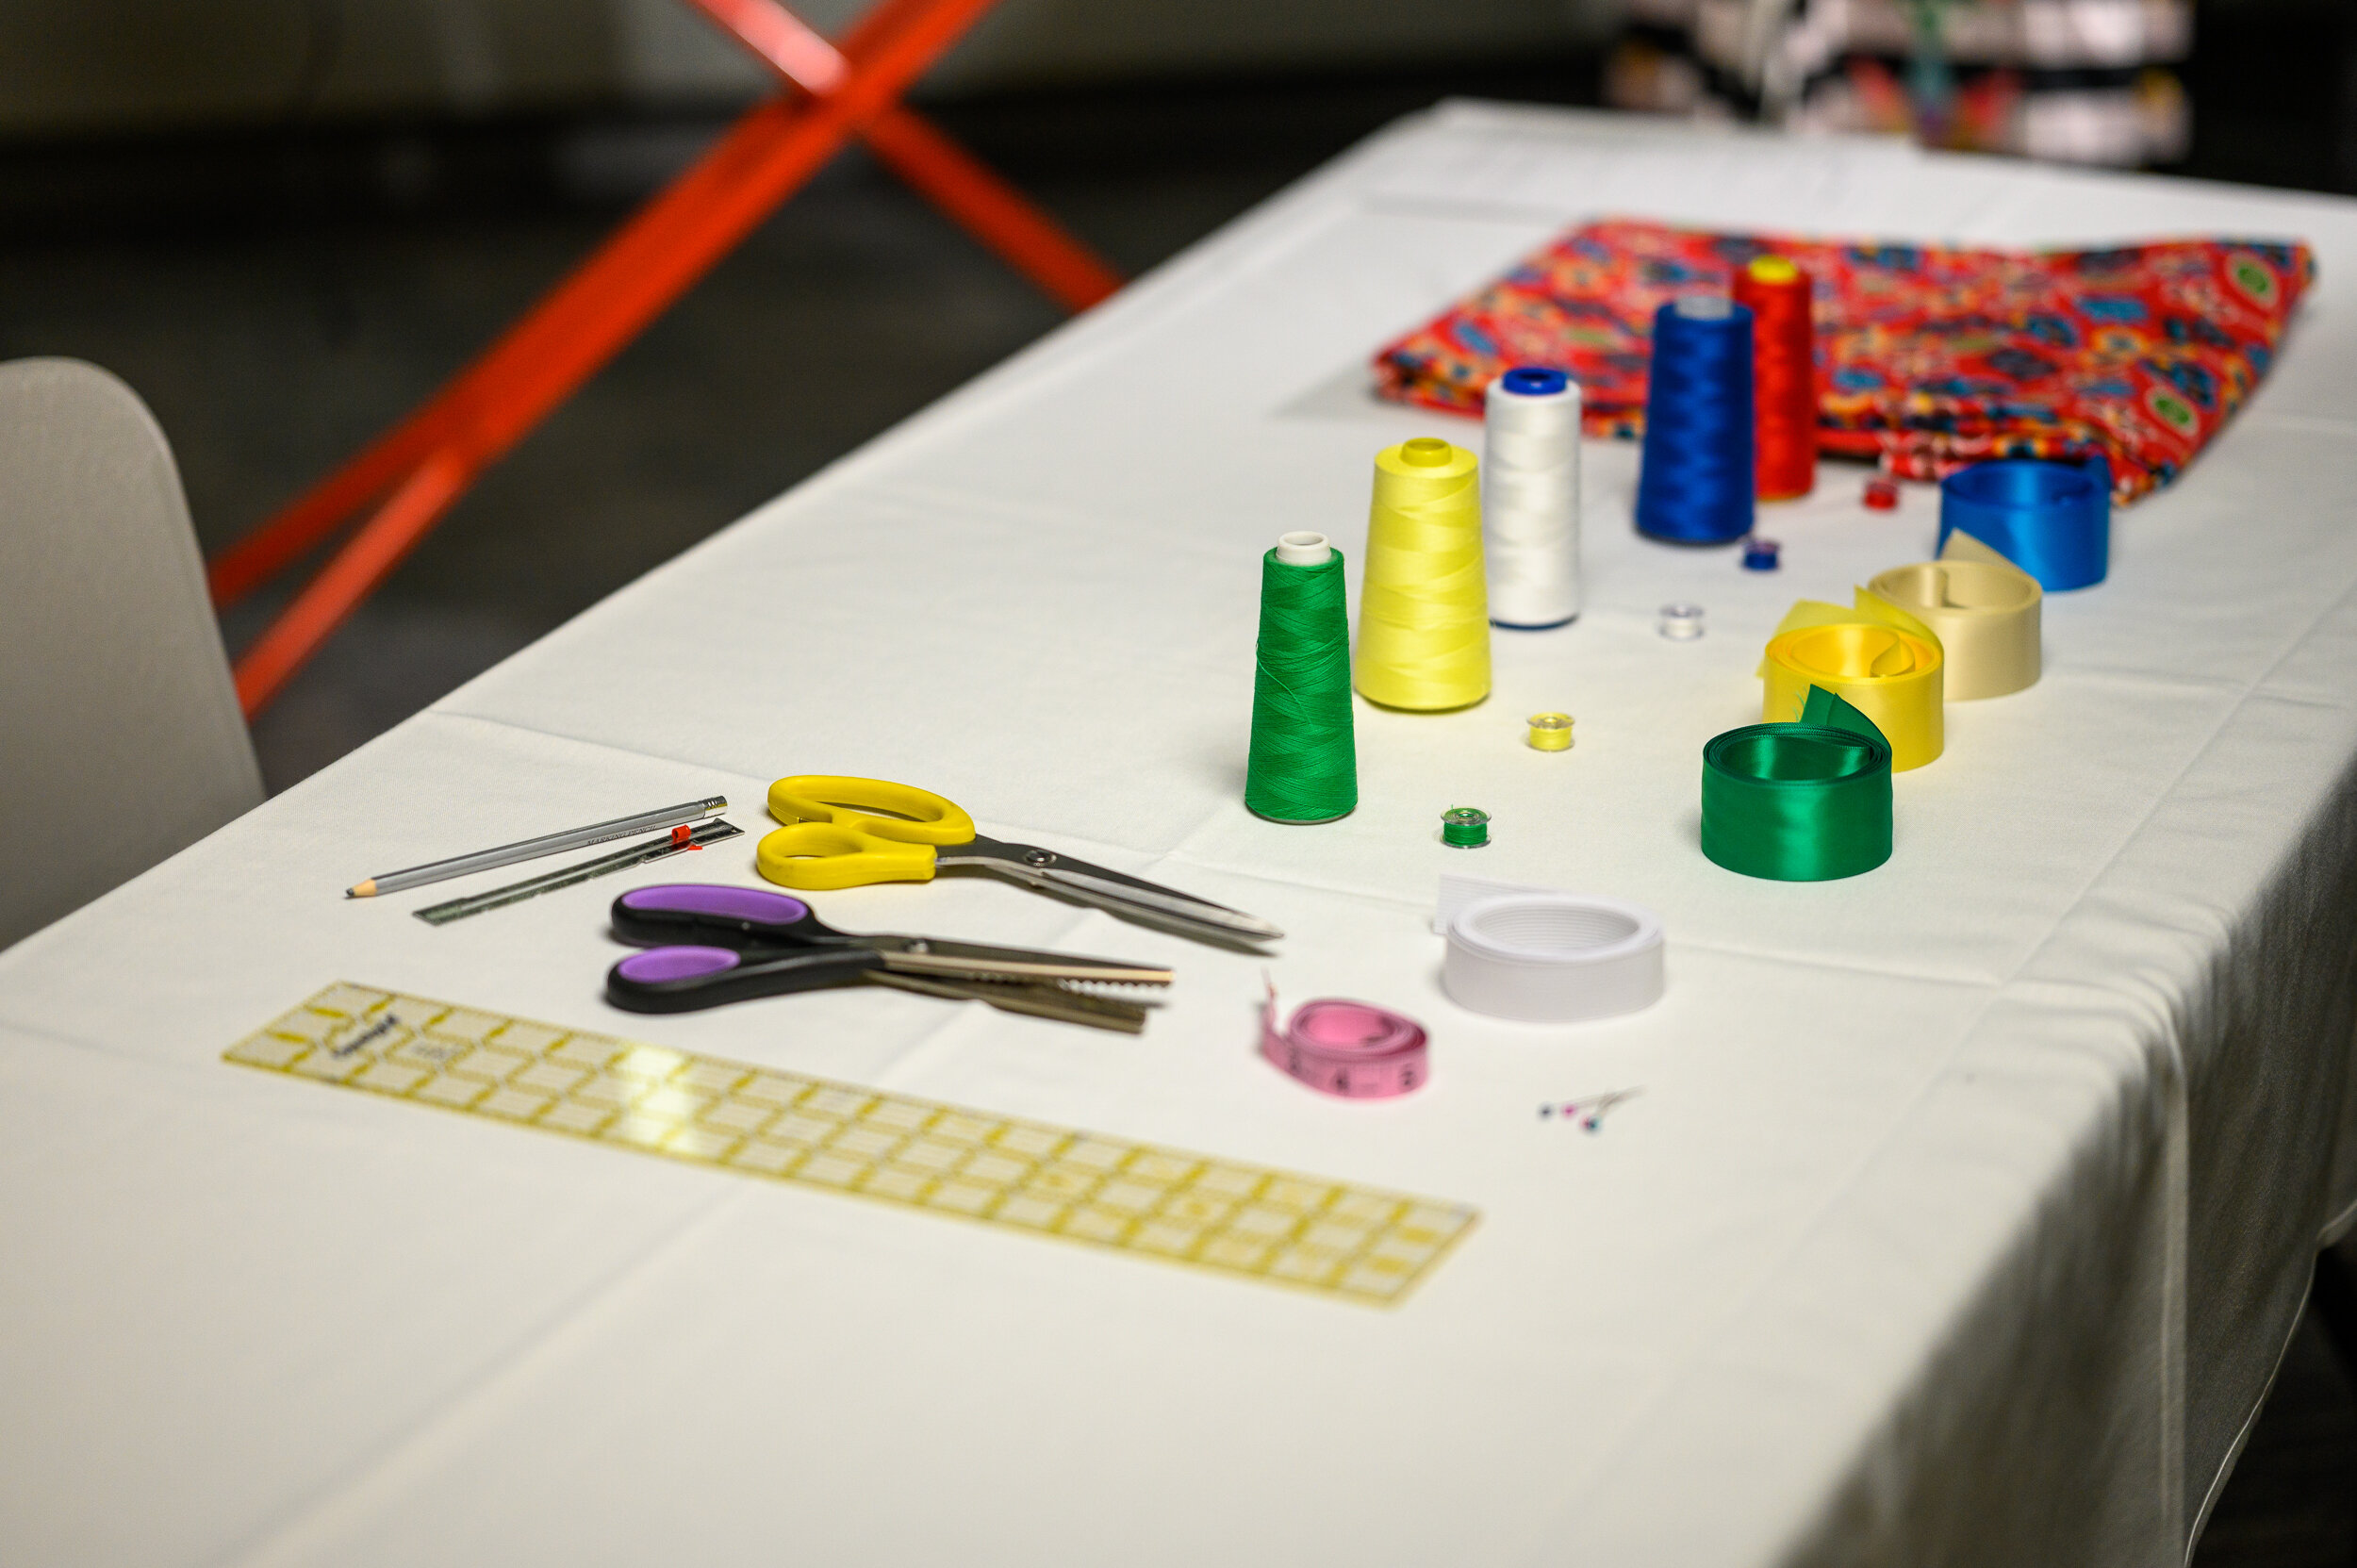
Materials required for one skirt
2.5 meters of fabric
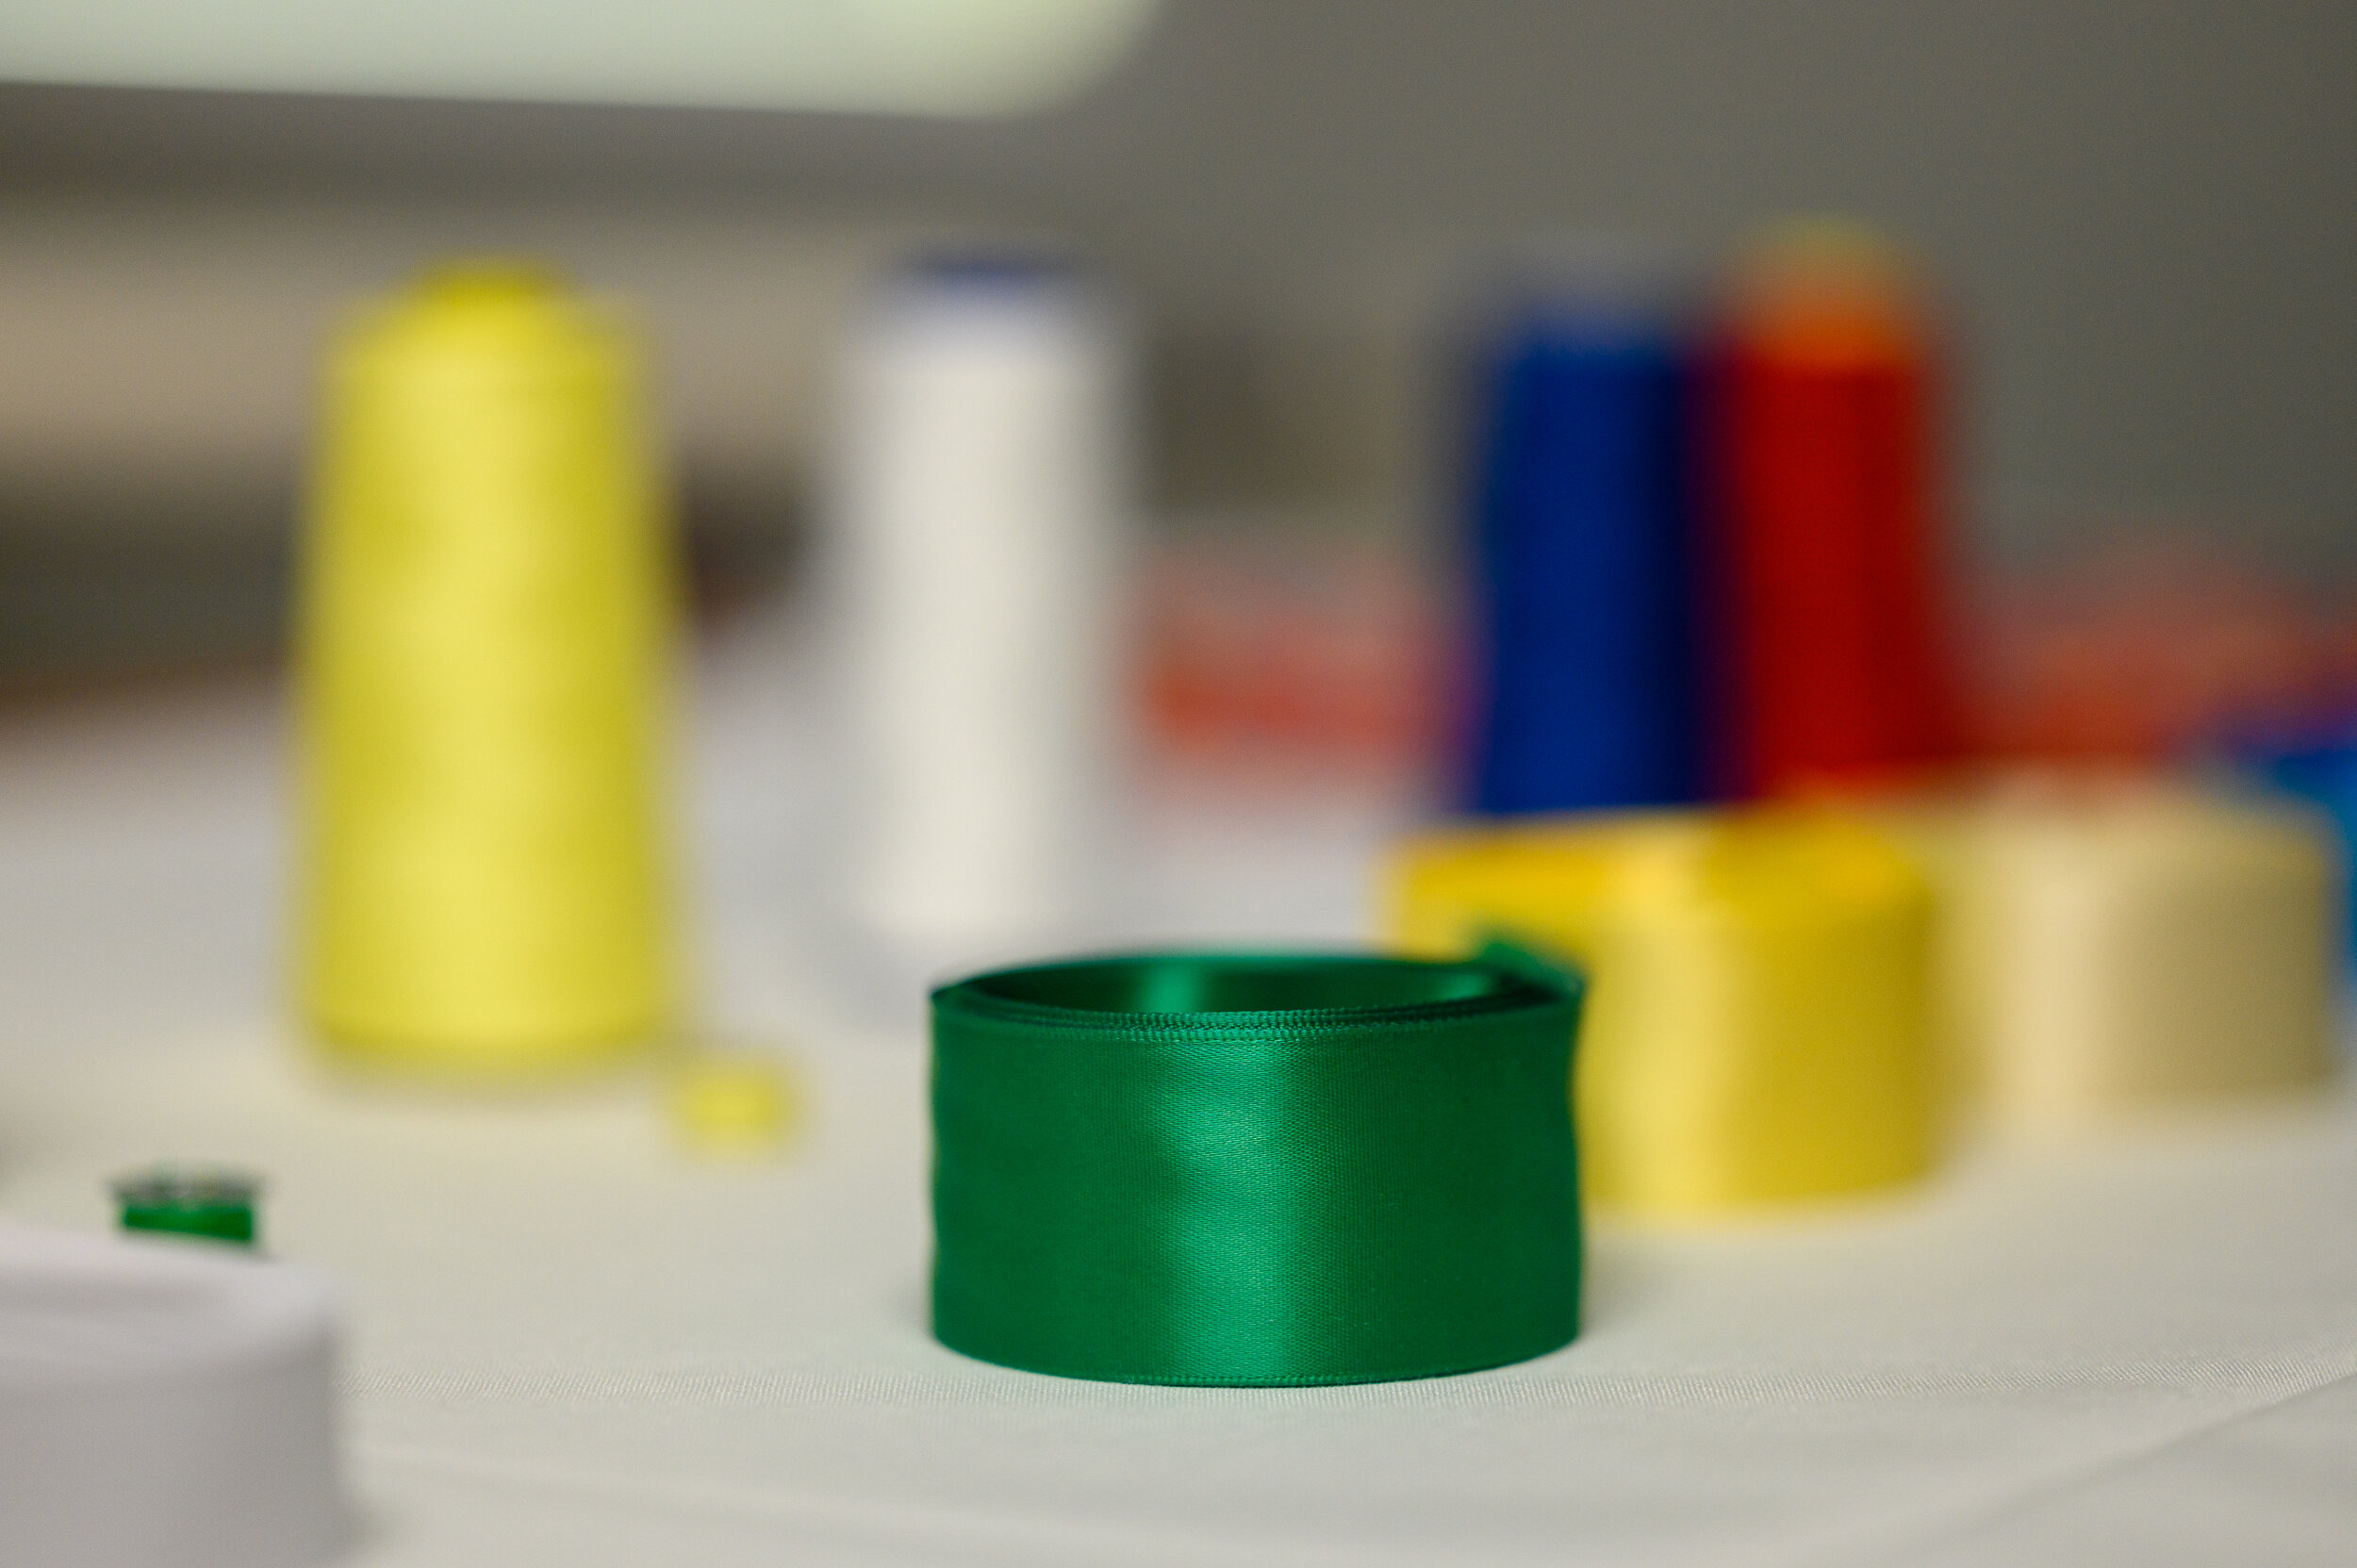
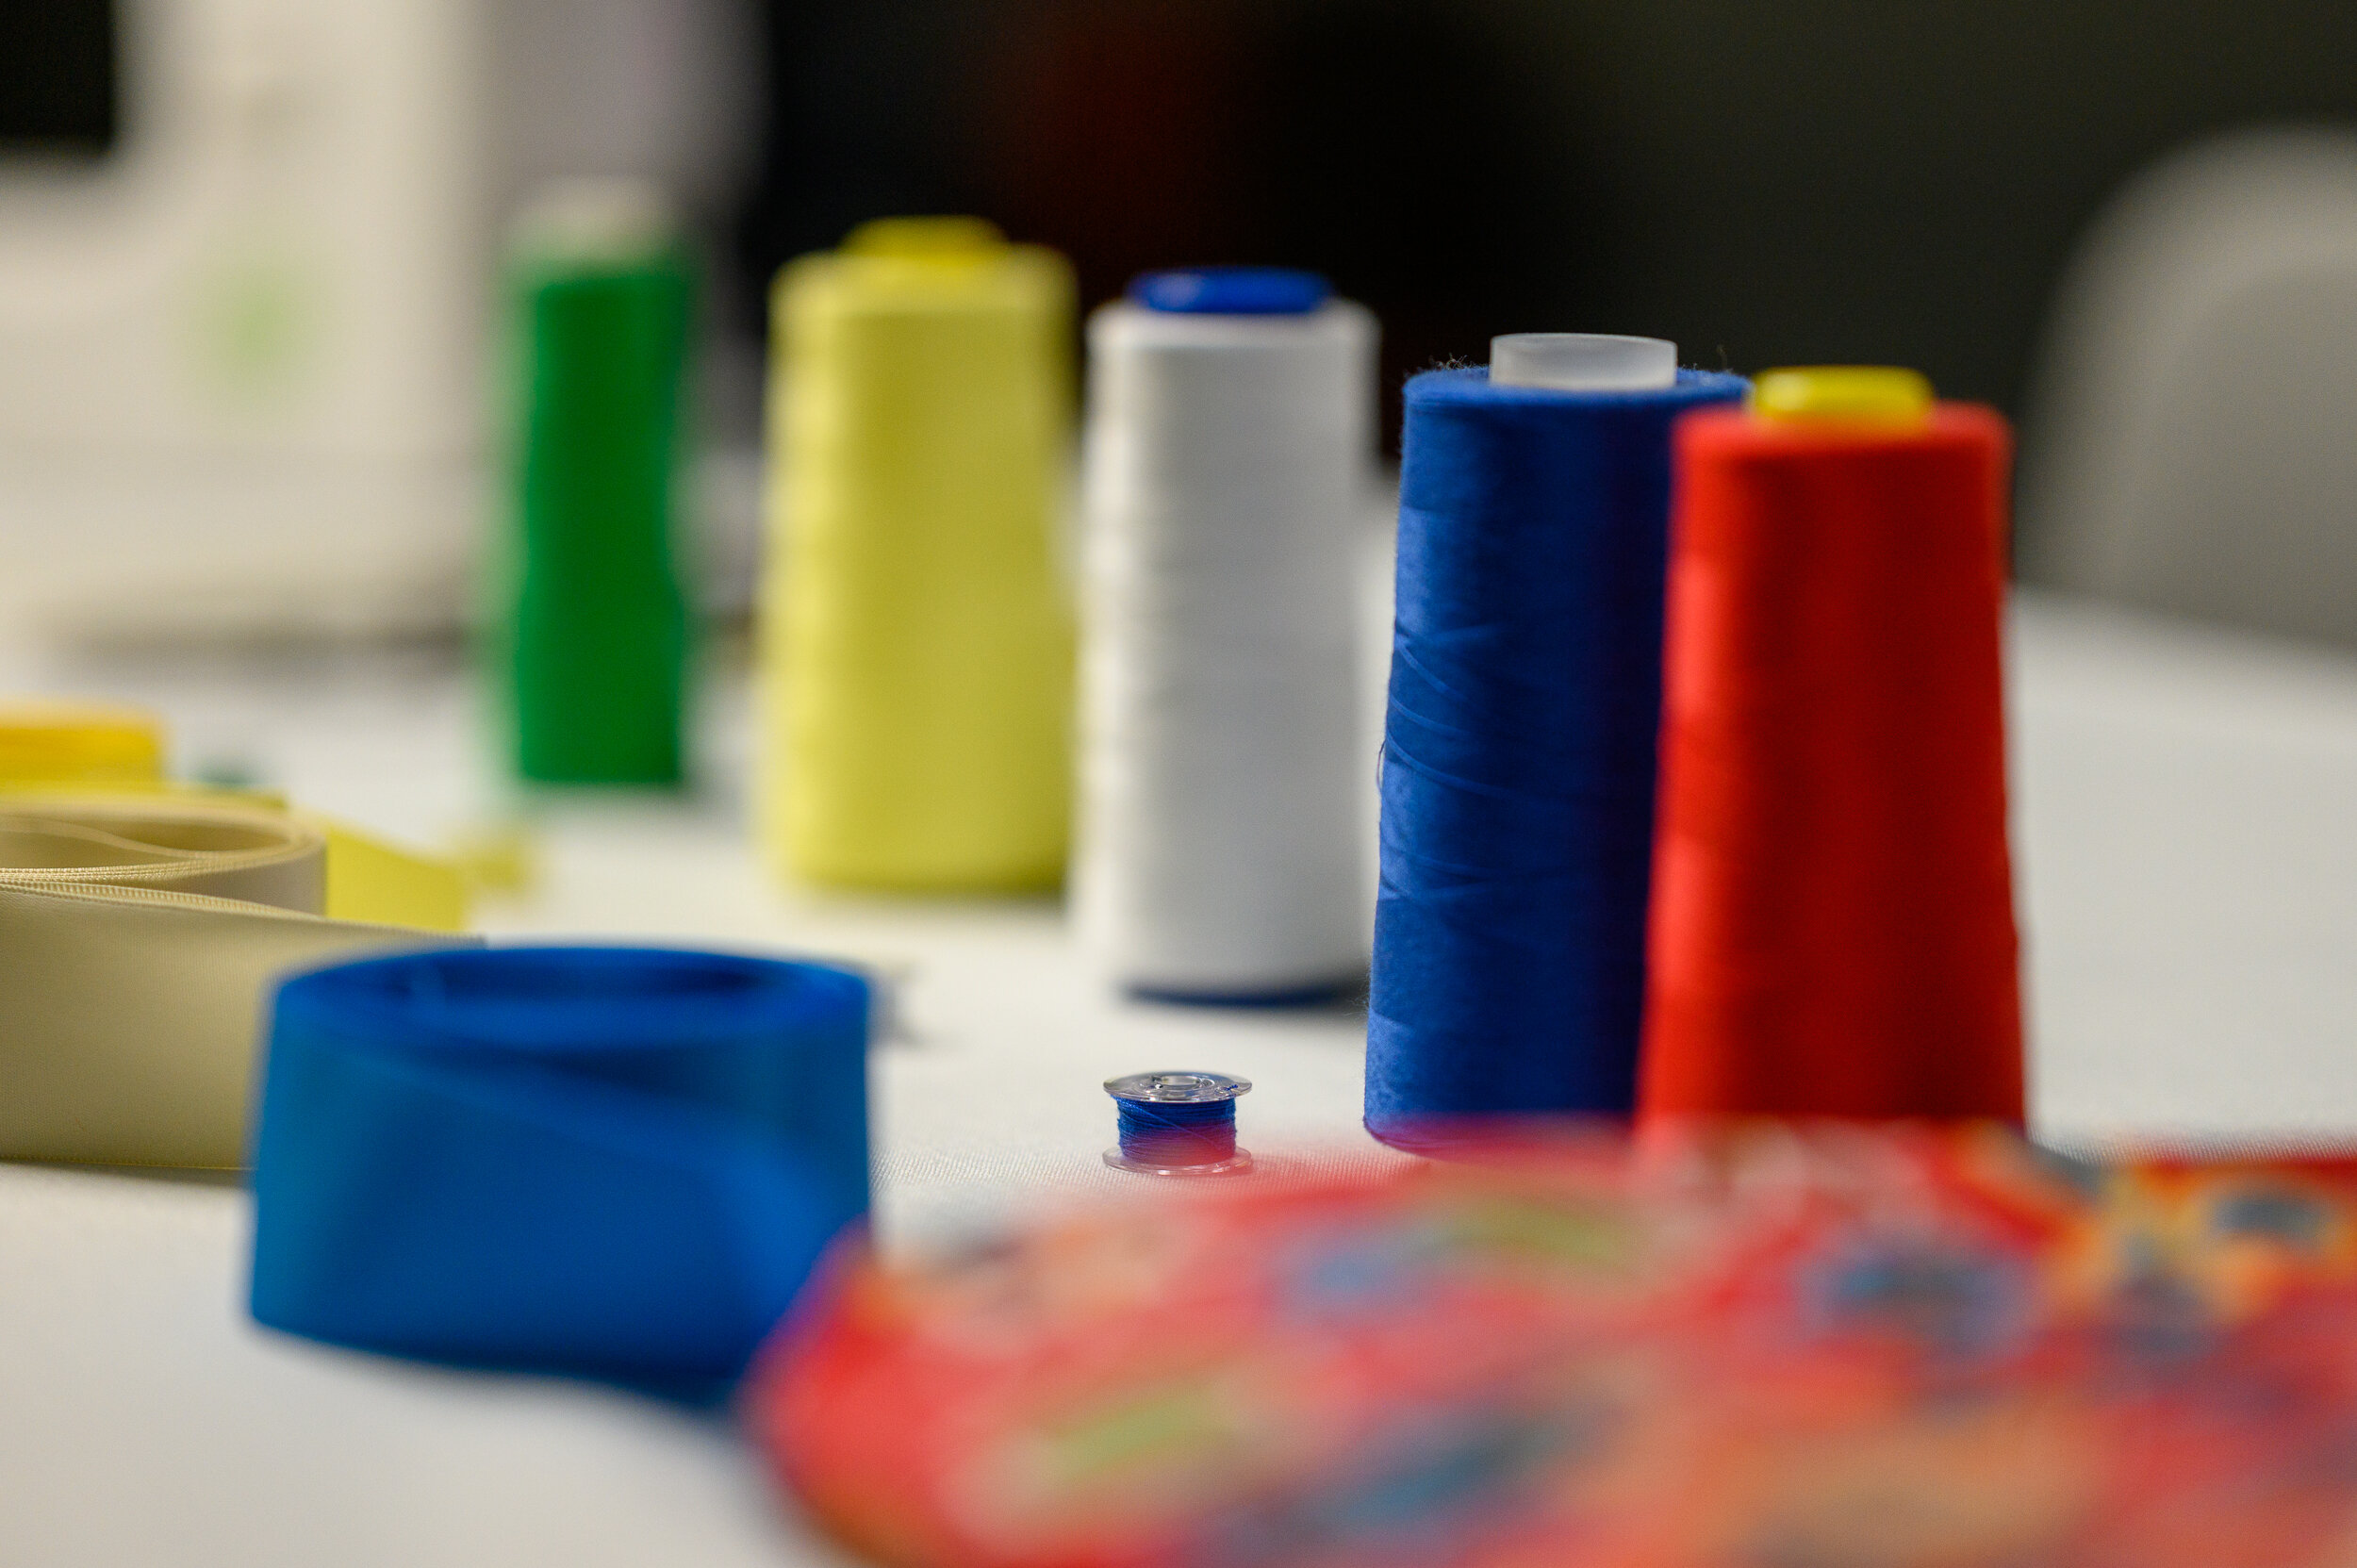
Ribbon at least 2.5 meters per colour for each row of ribbon
Thread
Scissors
Pinking shears (optional)
Lighter or matches
Elastic band 1.5 inches width and at least 1.5 meters in length
Ruler
Yardstick (optional)
Iron and ironing board
Measuring tape
Straight pins (optional)
Large safety pin
Step One: Preshrink the cotton fabric
Note that preshrinking is not required if you are using satin fabric or any other fancy fabric.
Machine wash the cotton in warm water.
Fully dry the fabric in the dryer.
Press the fabric with an iron to remove all the wrinkles.
Step Two: Measure
Use a measuring tape to measure the circumference of the waistline and record that length for later.
Use a measuring tape to measure the desired length of the skirt starting from the waistline down calf level and record that measurement for later.
Step Three: Transfer Measurements to the Fabric
Decide the direction of the fabric from top to bottom.
Fold the fabric in half lengthwise.
Divide the waistline measurement by four (eg. a waist of 36 inches divided by 4 is 9 inches).
Marking the waist with a ruler, draw a straight line from the straight edge of the paper 9 inches, plus 4 inches, total length of wais line is 13 inches.
Mark the length of skirt (the length is the distance from the waist to the hem.
Add 2 inches on top of the skirt above the planned top of the waist for an elastic band.
Add 2 inches to the bottom of the skirt for the hem.
Draw a line across the fabric that measures the width of the first line drawn for the waist and add 6 extra inches (eg. if the waist is 13 inches, add 6 inches for a total of 19 inches).
Step Four: Cutting out the fabric
Cut out the first panel.
Use the first panel as a pattern to create an identical second panel.
You should have two panel pieces, one for the front of the skirt and one for the back and back once it is unfolded.
Step Five: Applying Ribbon
Lay the fabric pattern down on a flat surface.
Measure and put a mark using a thin marker 4 inches, or the desired height, above the bottom of the hem for the ribbon placement.
Draw a line across the bottom of skirt.
Stitch the bottom of the ribbon down with a sewing machine, following that line. You will want to sew ribbon down over top of the drawn line.
Determine the length of ribbon needed to sew from one edge of the skirt to the other edge and cut ribbon a little longer than the width of skirt.
Lightly singe the edge of the ribbon strips with a lighter or match to prevent fraying and unravelling.
Stitch the top of the ribbon down once the bottom is sewn down.
Using the iron, press the ribbon to prevent puckering.
Proceed to stitch the next ribbon on by either stitching directly above the first ribbon, or remeasure the distance between ribbons.
Follow steps for applying ribbon to the front and back skirt pieces
Step Six: Assembling the Skirt
Once ribbons are attached, place front and back skirt pieces together. You should have the ribbons on the inside facing together.
Line the ribbons up together and use straight pins to hold both pieces together.
Using a sewing machine, stitch the side seams together. The seam should be sewn at half an inch to prevent seam splitting. You should use the ruler markings on your sewing machine.
Using the iron, press the seams flat.
Step Seven: Hem the Skirt
Measure 2 inches from the bottom of the skirt for the hem, and mark using a thin marker or use straight pins to hold the hem in place.
Using the iron, press the hem.
Using the sewing machine, stitch the hem in place.
Step Eight: Waistband and Elastic
Fold the top of the waist material down 2 inches for the elastic
Using the iron, press the waistband on the fold.
Stitch the bottom of the waistband down along the length of the waist line leaving a 2-inch space opening for the elastic to be inserted
Thread the elastic through the 2-inch space using a large safety pin attached to the end of the elastic. Shim it through the entire length and join the two ends of the elastic.
Elastic should be the same length as the original waist measurement (eg. 36 inches).
Stitch the ends of the elastic band together and stitch opening closed
Dr. Frank Hamilton Mewburn was a wiry and fiery surgeon, politician, army officer, and university professor who greatly contributed to the development of Lethbridge. Mewburn came from a long ling of medical professionals, graduating from McGill University in Montreal in 1881.